Reef sump with baffles and chambers for your stand size
SumpCheck the listing for outside dimensions, the chamber layout and the skimmer chamber size, and compare them with your stand and equipment.
Reader-supported: some links on this page are affiliate links. As an Amazon Associate I earn from qualifying purchases, at no extra cost to you.
Size the sump around your stand, your skimmer and return pump, and the water that drains back when the pump stops. Rules of thumb are a range, not a law.
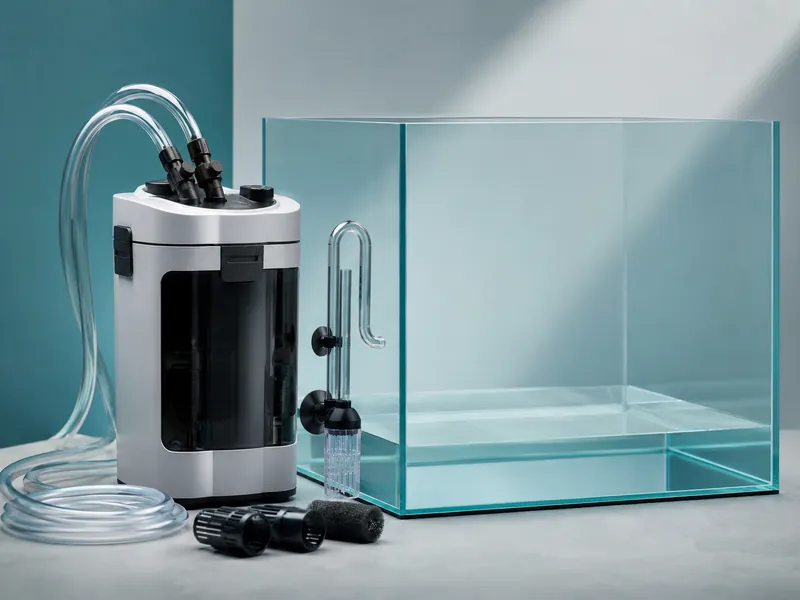
Choose the largest sump that fits your stand with room to work, whose chambers fit your skimmer and return pump, and whose empty space can hold the water that drains back when the pump stops. Two respected retailer guides give different minimum sizes, one at 25% of the display's volume and one at 10%, so treat size as a range and let the drain-down math and your equipment decide.
A sump is a tank beneath the display that receives water from the overflow and passes it through equipment before the return pump sends it back up. It adds water volume, hides equipment such as heaters, a skimmer and probes, and gives you a place for a refugium and an auto top-off. Our freshwater sump guide explains the general case, and this guide covers what to look for in a reef sump specifically.
If you are still choosing between a sump and other filtration, start there. If you have decided on a sump, the questions below are what to ask before you buy or build one.
Published rules of thumb disagree, and it helps to see why. One retailer's buyer's guide says a sump should be at least 25% of the display's water volume, so a 100-gallon display calls for at least 25 gallons, and recommends buying the largest your budget and space allow. Another retailer's build guide gives a minimum of 10% of tank volume, with a 30-gallon sump on a 50-gallon display as its example. Both are fine as starting points. They answer different questions: how much sump gives you comfortable room, and how little can still work.
A bigger sump has more space for equipment, more water volume and more room for the drain-back. It also costs more, needs a larger stand and is heavier. Pick the size that your cabinet, your equipment list and your budget allow, then check the drain-down figure below before you commit.
The buyer's guide advises measuring the stand's interior footprint and height and leaving at least 1 inch of clearance on all sides. That clearance is for plumbing, for sliding the sump in and for getting your hands in to work. Also check the door opening, since a sump that fits the cabinet may not fit through the door. Do not forget the weight: a sump full of water adds to the load on the floor and the stand, so check the stand's weight rating in its manual.
Baffles are the glass or acrylic walls that divide a sump into chambers and steer the water through them. The buyer's guide describes a basic three-chamber layout of a drain chamber, a skimmer chamber and a return pump chamber, and says a fourth chamber adds a refugium or auxiliary section, with five or more adding a media chamber. Layouts vary by brand, and the size of each chamber decides what equipment fits.
Check the listing for outside dimensions, the chamber layout and the skimmer chamber size, and compare them with your stand and equipment.
Filter socks come in different diameters. Check the drain pipe or collar size before you order.
This is the part that causes the most trouble. When the return pump stops, water in the display and the pipes drains back to the sump, and the sump must hold it without overflowing. The build guide tells you to estimate the drain-back by finding the water between the return pipes and the display's maximum water level, then check that the sump has room for it. The buyer's guide gives a normal running level of about 50 to 60% of capacity with the pump on, to leave room for the backflow.
The build guide, working from a different example, suggests keeping the sump level roughly 4 to 6 inches below the top. These are two different yardsticks, not a contradiction, and neither replaces your own numbers. The calculation depends on your plumbing, so measure it.
Our overflow box and drain kit guide covers the drain side of the same system. Test the system before you add livestock: the build guide describes filling the sump and letting it sit for 24 to 48 hours to check for leaks.
A premade sump is the simpler route, and the chambers are sized for common equipment. A custom build lets you match a skimmer and a stand exactly. The build guide describes cutting thick glass baffles, using 100% pure aquarium-safe silicone and letting the joints cure for at least 24 hours. Building takes tools, patience and attention to detail; a mistake means a leak under a tank. If you do not enjoy workshop projects, buy a premade unit.
Whichever route you choose, keep electrical safety in mind: the sump holds a pump, often a heater and sometimes a controller, all near water. Use drip loops, keep plugs and strips above any possible spill and follow every manual. Our electrical safety guide covers the basics, and a qualified electrician can advise on outlets.
Check the label says 100% silicone suited to aquariums and note the cure time. Only needed if you are building or resealing.
One retailer guide says at least 25% of the display's volume, and another gives 10% as a minimum. Use both as a range, buy the largest your space allows, and check that the sump can hold the drain-down volume.
It is the water that flows back from the display and pipes to the sump when the return pump stops. The sump needs enough spare room to hold it without overflowing.
A baffle is a wall that divides the sump into chambers and steers the water through them. A basic layout has drain, skimmer and return pump chambers, and larger ones add a refugium or media chamber.
No, it is optional. Many premade sumps include one, and some builders use the space for a top-off reservoir or more equipment.
A premade sump is simpler and sized for common equipment. A custom build can match your stand and skimmer exactly but needs tools, careful cutting and silicone work, and a mistake can cause a leak.
Sizing rules in this guide come from two retailer guides, which are practical references, not engineering standards. They disagree on the minimum size, so both figures are shown and attributed. Drain-down volume depends on your own plumbing and display, so no number is given beyond the method. Check your equipment's manuals for the water heights and clearances they require.
Heads-up: AquariumSetup.co participates in the Amazon Associates and eBay Partner Network programs. We may earn a commission on qualifying purchases at no extra cost to you. We only recommend gear we believe is genuinely useful to beginners.